How to Install Recessed Lighting in Existing Ceiling
Recessed lights aren't a hassle to install during new construction. But, you may be wondering, can you add one to an existing ceiling? The question isn't tough to answer. However, you might need more insight than it seems. If you'd like to know more, we have researched the issue and found some answers.
It is possible to install recessed lighting into an existing ceiling! The following are the steps on how to do it:
- Decide where to position the lights.
- Identify the location of all ceiling joists.
- Turn off the power.
- Drill a quarter-inch hole, and use a drywall saw to cut holes.
- Pull the cable from the main power source to the switch box.
- Insert the cable by attaching a cable connector to the light's junction box.
- Mount the housing inside the hole.
- Install the light bulbs in the cans.
- Turn the power on again and check if the lights are working.
Installing recessed lights in an existing ceiling is a fairly straightforward task. You can install them in most places with small obstacles here and there. If you want an in-depth look at what installing recessed lights looks like, keep reading ahead.
![Interior of a spacious and luxurious home with gorgeous sky lights and recessed lighting, Can You Add Recessed Lighting To Existing Ceiling? [And How To]](https://homedecorbliss.com/wp-content/uploads/2021/06/Can-You-Add-Recessed-Lighting-To-Existing-Ceiling-And-How-To-683x1024.png)
How To Install Recessed Lighting Into An Existing Ceiling
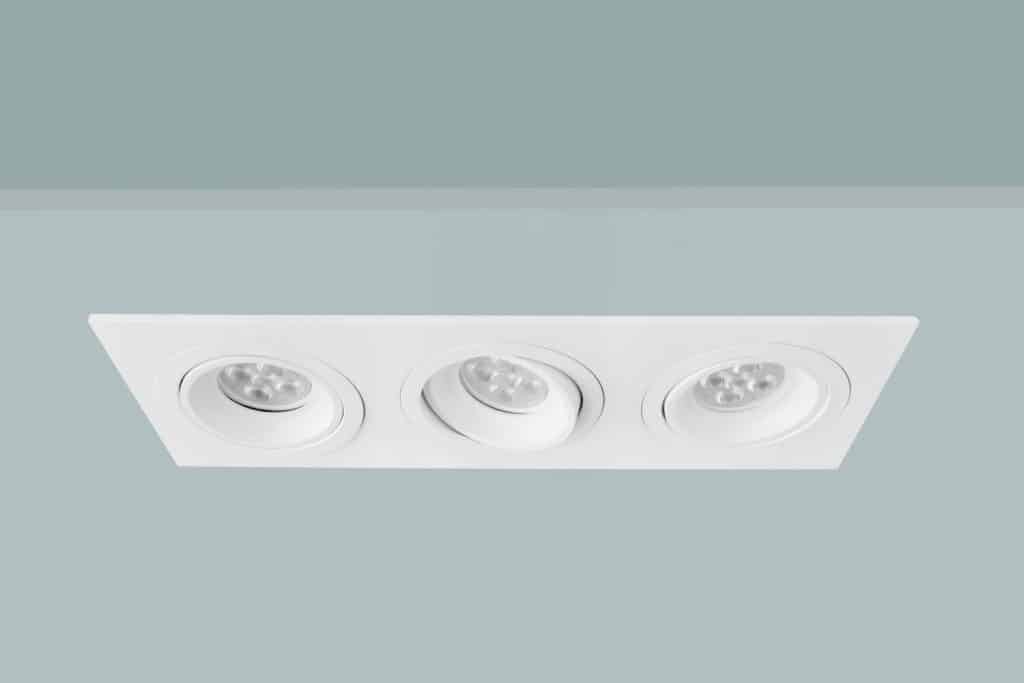
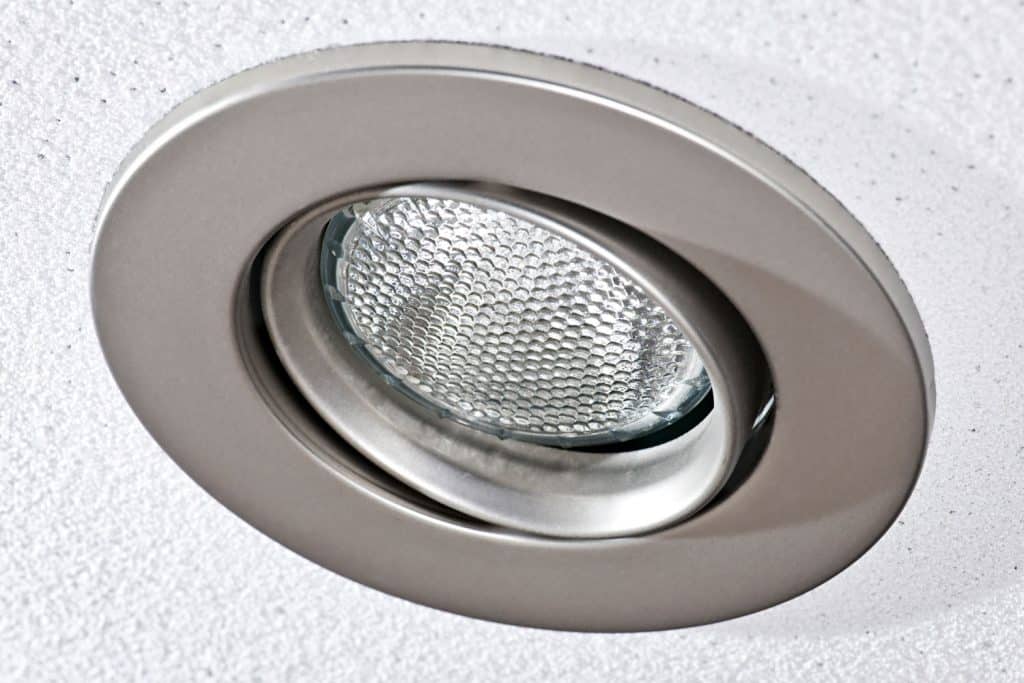
Recessed lights are also known as can lights, high lights, pot lights, or downlights. They are fitted inside the ceiling and hidden from view. The most common use for them is accent or task lighting, but they flood the room with soft, dispersed light.
If you are remodeling and wish to install recessed lights in any room, with this tutorial, you won't need access to an attic and can easily install recessed lights in existing ceilings from within the room.
First, the tools that you will need include:
- Wire cutters
- Pencil
- Drywall saw
- Wire strippers
- Screwdriver
- Remodeling recessed lights – these are specific kinds of recessed lights made for existing ceilings.
Now that you have all the necessary tools, it's time to start the installation process. Follow along with these steps:
Step 1
Determine where you want your lights installed and where to position each fixture by sketching a lighting plan. You may consult a designer or an expert to help you decide on the best light distribution. Ensure that there are no other fixtures or obstructions in these places.
Step 2
Use a stud finder to identify ceiling joists that may obstruct the path for your lights. You may also use an unbent clothing hanger to locate obstructions so that the holes for the recessed lighting do not cross the joists.

Find this stud finder on Amazon.
Step 3
Use the provided paper template by the manufacturer or use the can itself to measure and draw a circle on the ceiling at each location you have chosen to install the lights.
Step 4
Drill a quarter of an inch wide hole at the center of each opening of the recess lights, then cut the holes using a drywall saw.
Step 5
Turn off the power to the room by switching off the main power source at the circuit breaker box. Remember to confirm that the electricity is off by using a voltage tester (multimeter). This step is an extra safety measure if electricity is still running where you're going to work.

See this multimeter on Amazon.
Step 6
Next, pull the cable from the main power source to the switch box closest to the area where you will install the lights. The attached youtube video below explains this step.
Step 7
Get an electrician to run wires from the switch to the recess light locations. Now, pull the wires through the hole of the recess lights. Once you finish, grab one of the light fixtures and remove the cover from the junction box on the light fixture.

Check out these remodel recessed lights on Amazon.
Step 8
Feed the wire running from the recess light location in the ceiling to the switch box by following the instructions provided with the light fixture and making the electrical connections.
Step 9
You will need to strip the ends of the wires about three-quarters of an inch. This step is required to remove the insulation and allows you to form the connection.
Step 10
At the light's junction box, attach a cable connector and insert the cable. Now is the fun step! Press the can up into your ceiling until it's level. You may need to read the recessed lights instruction manual before performing this step. There will be four tabs or metal clips that you will have to press and secure into place through the light fixture to secure the can.
Step 11
Once the squeezable springs snap the can into position, install the light bulbs inside the can.
Step 12
Finally, turn the power back on and enjoy your new lights!
If you need some visual help, here is a video to help with the installation:
Do You Need An Electrician To Install Recessed Lighting?

This task won't be too complex for you if you aren't new to DIY home remodeling projects. It does require basic electricity and safety knowledge, but after watching the tutorials and reading the above steps, you shouldn't have much trouble. The wiring is the more complicated part, but you can get an electrician to help you with that part.
Hiring an electrician means that they will be aware of the local codes regarding electrical systems and abide by these codes when they work. You can easily avoid penalties or fines at your next home inspection if you consult a professional electrician. Professionals also work quicker without creating a mess due to their extensive experience, but they are also pricey.
It depends on your budget, how confident you are in your skills, and whether or not you have the free time to conduct this DIY project of installing recessed lights in the existing ceiling. Make sure that the electrician is licensed and registered.
Ask for some references and look on the internet for reviews. You may select companies instead of individual workers because companies have insurance and other perks.
Low quotes don't ensure quality work. Don't go for the lowest bid to save your money. A little investment can go a long way! Also, make sure that they have previous experience installing recessed lights in existing ceilings.
How Much Does It Cost To Add Recessed Lighting?
Recessed lights are the cheapest to install during construction. However, in an existing ceiling, it costs around $130 to $300 per recessed light. It depends on the type of bulb and the quality of the can that you choose, among other factors such as electrician costs or installation of dimmer switches.
Labor costs will differ according to the ease of installation. The rates of an electrician can vary from $50 to $100 per hour. It can cost you up to $2,000 to install half a dozen recessed lights to an existing ceiling if you hire a professional. However, a DIY project can cost almost $1,000 less.
Are Recessed Lights Worth It?
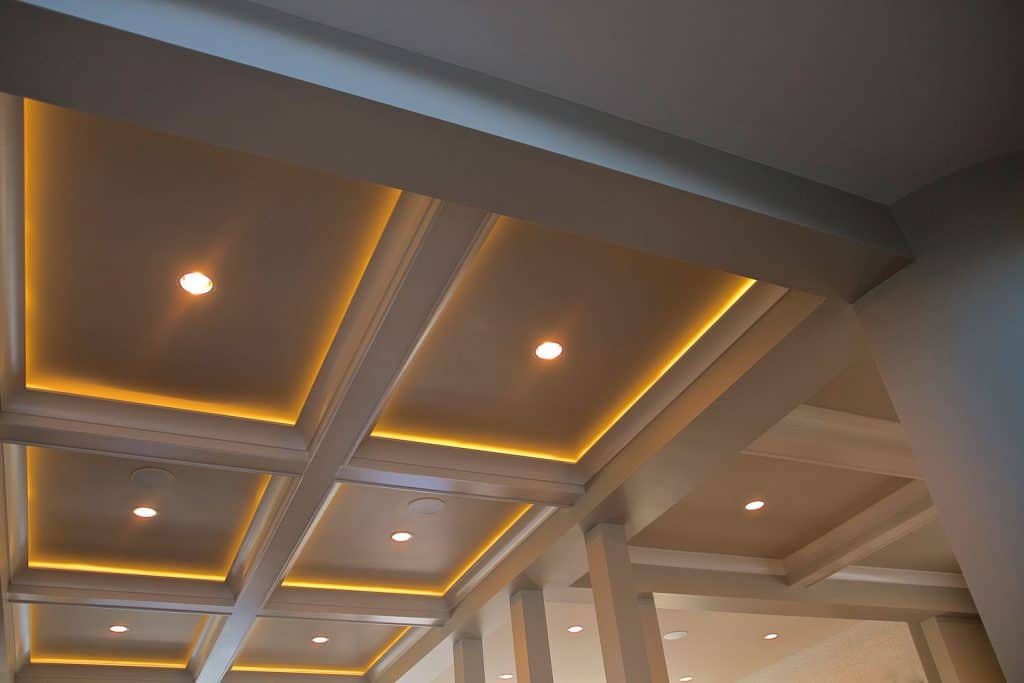
Recessed lights can be found in diverse places such as homes, offices, industrial spaces, etc., and for a good reason. They offer discreet illumination fitted inside the ceiling, hidden from view. Recessed lights beam light downwards, which means that they disperse lights in their full intensity, which is why they are so popular.
When it comes to modern lighting, recessed lightings are taking the commercial world by storm. These acoustic lights enhance the look of any room and present a futuristic touch. They are available in numerous shapes and sizes to provide a personalized experience according to users' preferences.
What Are Some Advantages To Recessed Lighting?
Recessed lighting can illuminate a room and make it look more lively! However, that comes at a trade-off. If you want to light up every corner of the room, recessed lighting is a choice to consider. They are spaced evenly throughout to cover as much area as possible.
As mentioned above, it also comes in different styles to accommodate the room it will illuminate. For example, if you want wall-wash lighting, you can go for the eyeball trim. Alternatively, if you have a room with mirrored surfaces, the reflector trim will pair up nicely. There are now even wifi-enabled, color-changing options, so the sky is the limit!
What Are Some Disadvantages?
There are few disadvantages to using recessed lighting. For some, holes will need to be present to install the lights. Additionally, you'll have to mess with some wiring. So, if you don't know what you're doing, it could cost you more to hire an electrician.
If you somehow regret using the lights, the work would have been for nothing! Lastly, recessed lighting works through unidirectional illumination. Since it is unidirectional, you'll need more recessed lights to brighten a room.
Final Takeaway
Recessed lights are considerably popular in current interior design trends. They are only growing in popularity due to their hidden nature and stylish look. The range of products available for recessed light cans and bulbs makes them a fine choice in any indoor space where artificial light is needed.
Before you go, do you need help choosing lighting options for a sloped ceiling? You can check out our post here. How about porch lighting, but without the need for electricity? Sound interesting? Check out our post here.
Until next time!
How to Install Recessed Lighting in Existing Ceiling
Source: https://homedecorbliss.com/adding-recessed-lighting-to-existing-ceiling/